Servings: 24 pieces
Calories: 155kcal
Ingredients
Dough
- 8 oz cream cheese
- 2 large eggs
- 1.7 oz butter unsalted, softened
- 3.5 oz almond flour I used Sukrin
- 2.5 oz finely ground almonds
- 6 tablespoon erythritol
- 1 teaspoon baking powder
- 0.9 oz psyllium husks
Walnut filling
- 10.5 oz walnuts
- 6 tablespoon erythritol
- 0.5 cup water
- 1 fl. oz rum
- 1 teaspoon vanilla extract
- 1 tablespoon lemon juice
- ⅛ teaspoon stevia extract
- 1 large egg white
Topping
- 1 large egg yolk
Instructions
DOUGH
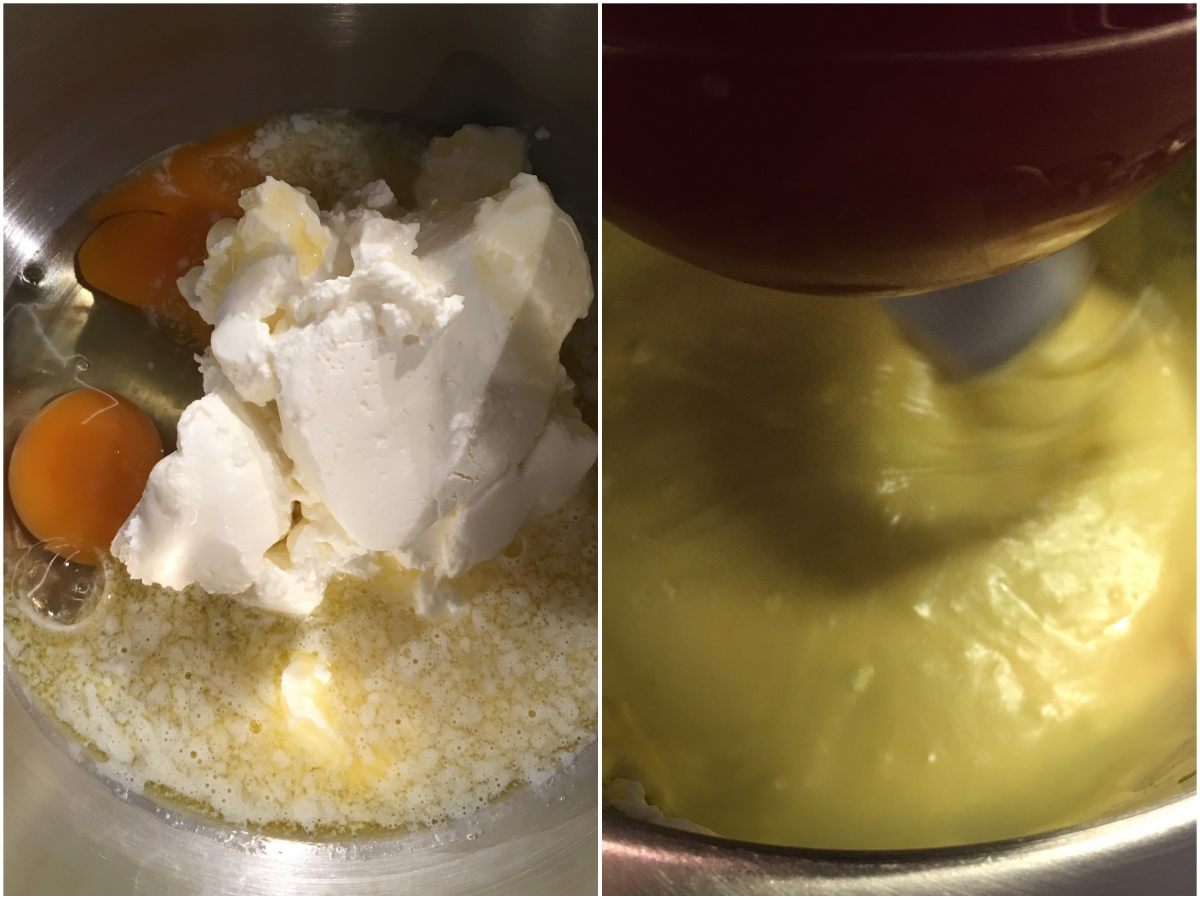
- Using a stand mixer, mix together all the wet ingredients: Eggs, softened butter, and creamed cheese.

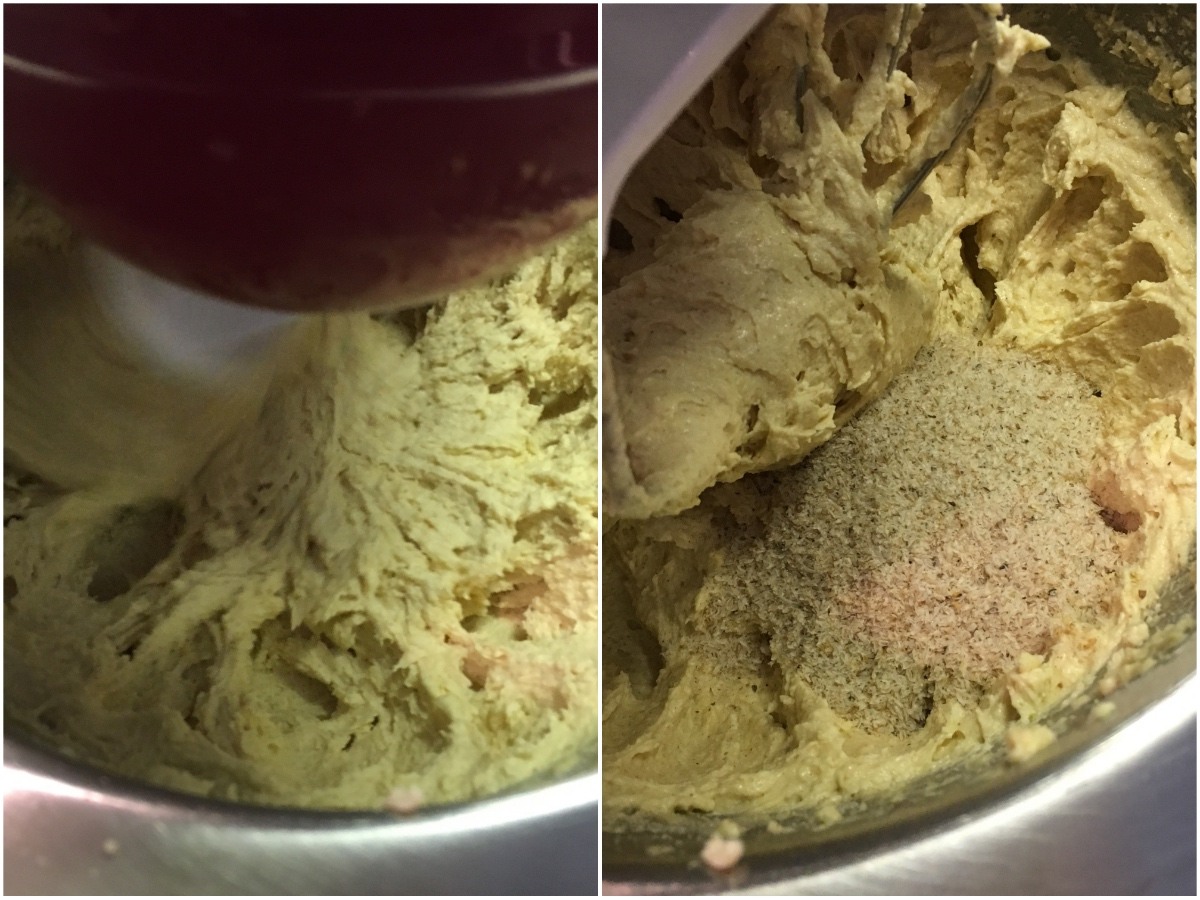
- Next, start mixing in the dry ingredients, one by one. Make sure everything is well incorporated before adding psyllium husks at the very end.

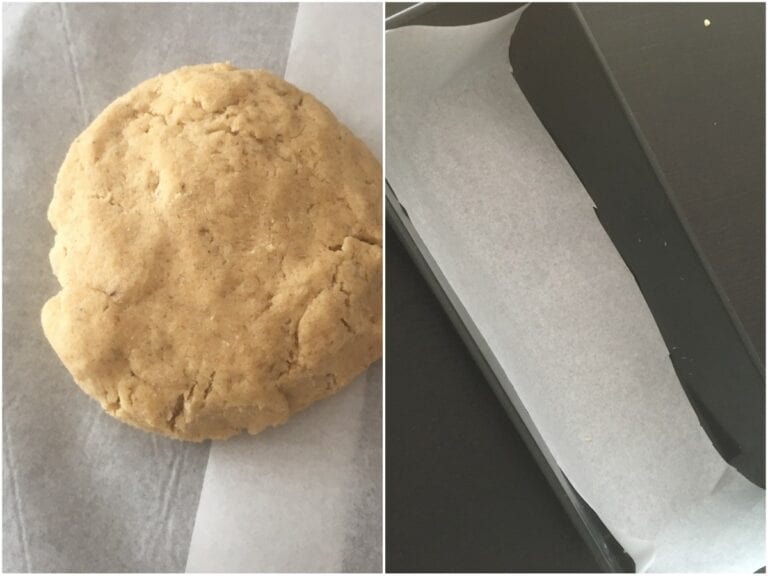
- In the end, the dough should be willing to knead and not too sticky.
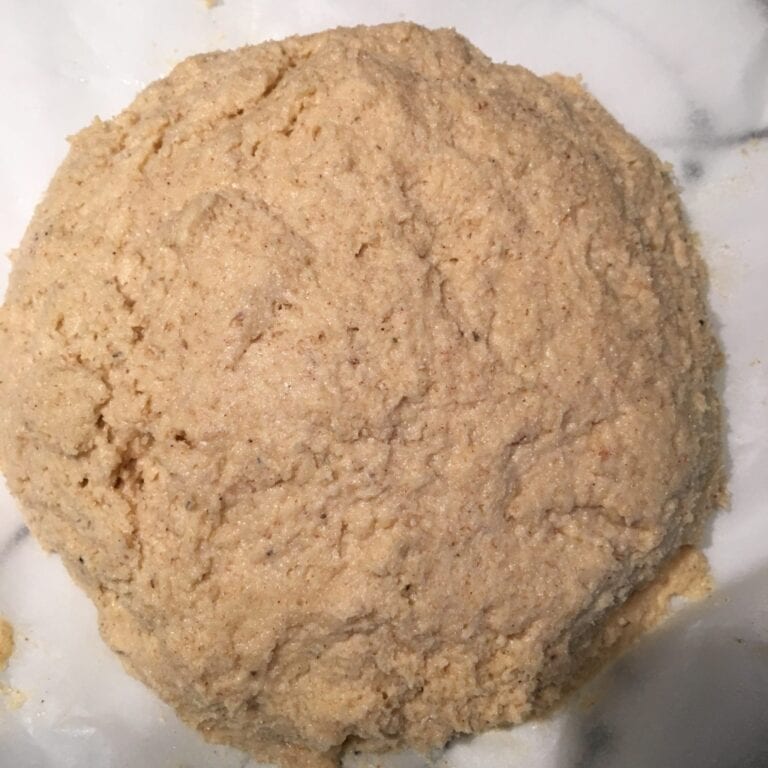
- Let the dough rest in a fridge for an hour.

WALNUT FILLING
- Separate the egg white from the yolk. Beat the egg white with half of the erythritol until stiff peaks form.
- Ground the walnuts in a food processor, but not too finely.

- Mix the ground walnuts with the rest of the erythritol.

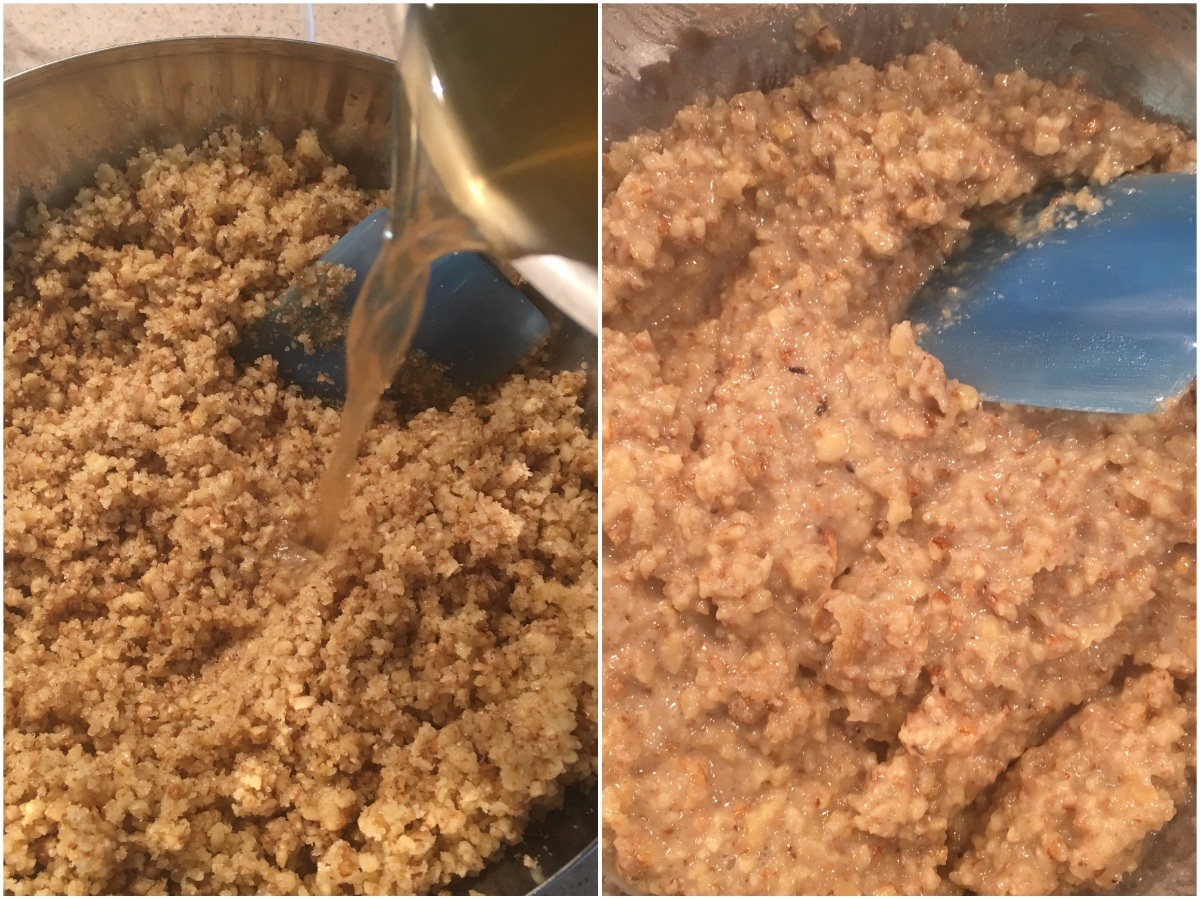
- Bring the water to boil. Mix in lemon juice, rum, and vanilla extract.

- While the water mixture is still hot, pour it over the ground walnuts and mix well with a rubber spatula.

- Using a spatula, fold the egg white into the walnut mixture.


MAKING THE ACTUAL ROLL
- Preheat the oven to 360 °F.
- Here comes the tricky part. When the dough has been sitting in the fridge for an hour, take it out and prepare it for rolling out. Prepare a large baking dish (or two smaller ones, approximately 11 x 3 inch).
- I split the dough into halves; It seems easier to form two smaller nut rolls.
- Prepare two sheets of parchment paper, wide enough to fit the baking dishes (approx. 11 x 3 inch).
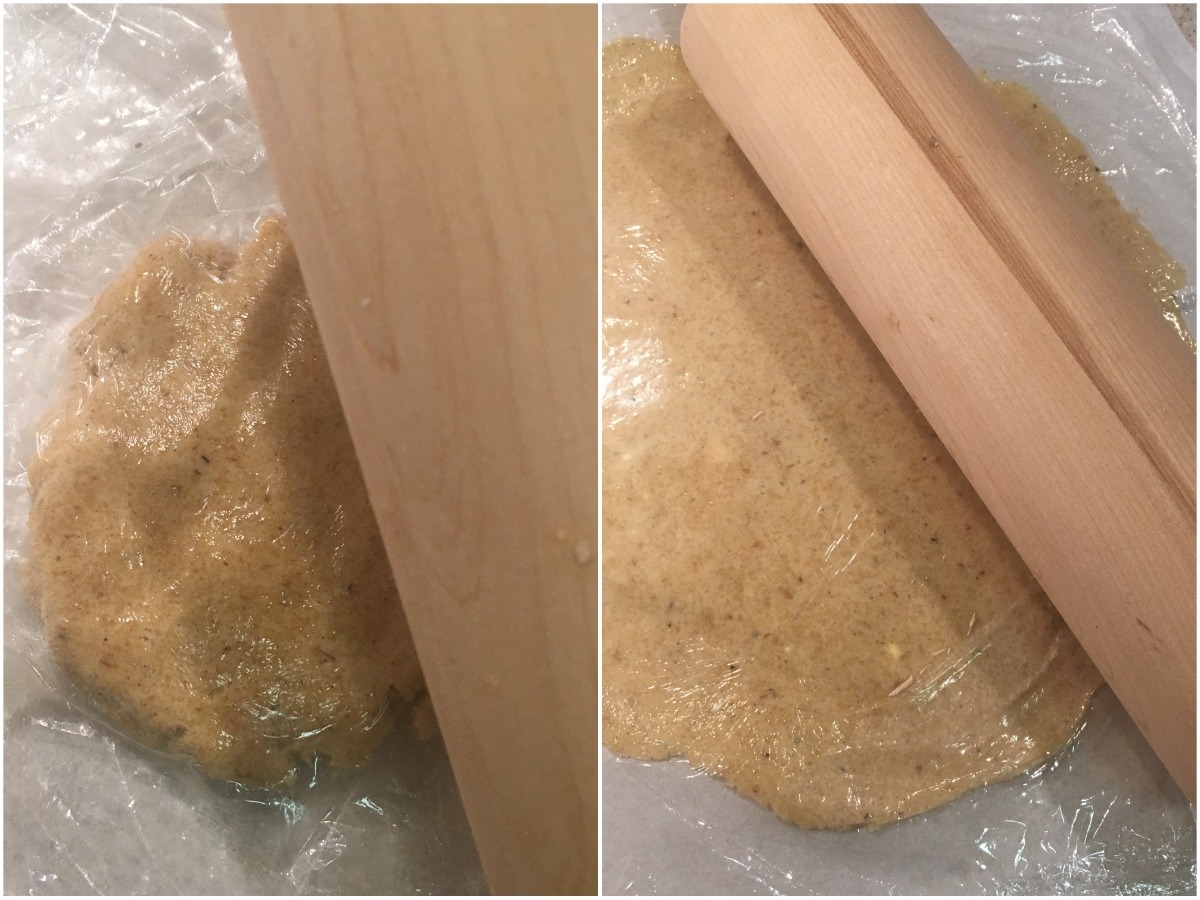
- For each of the dough pieces, prepare two sheets of transparent kitchen nonstick foil. Line the first sheet on the parchment paper, place the dough on it, and cover it with the other sheet of foil. Note: I did this because I didn’t own a silicone roller at the time. And the dough does stick to the wooden one as well as to the parchment paper!

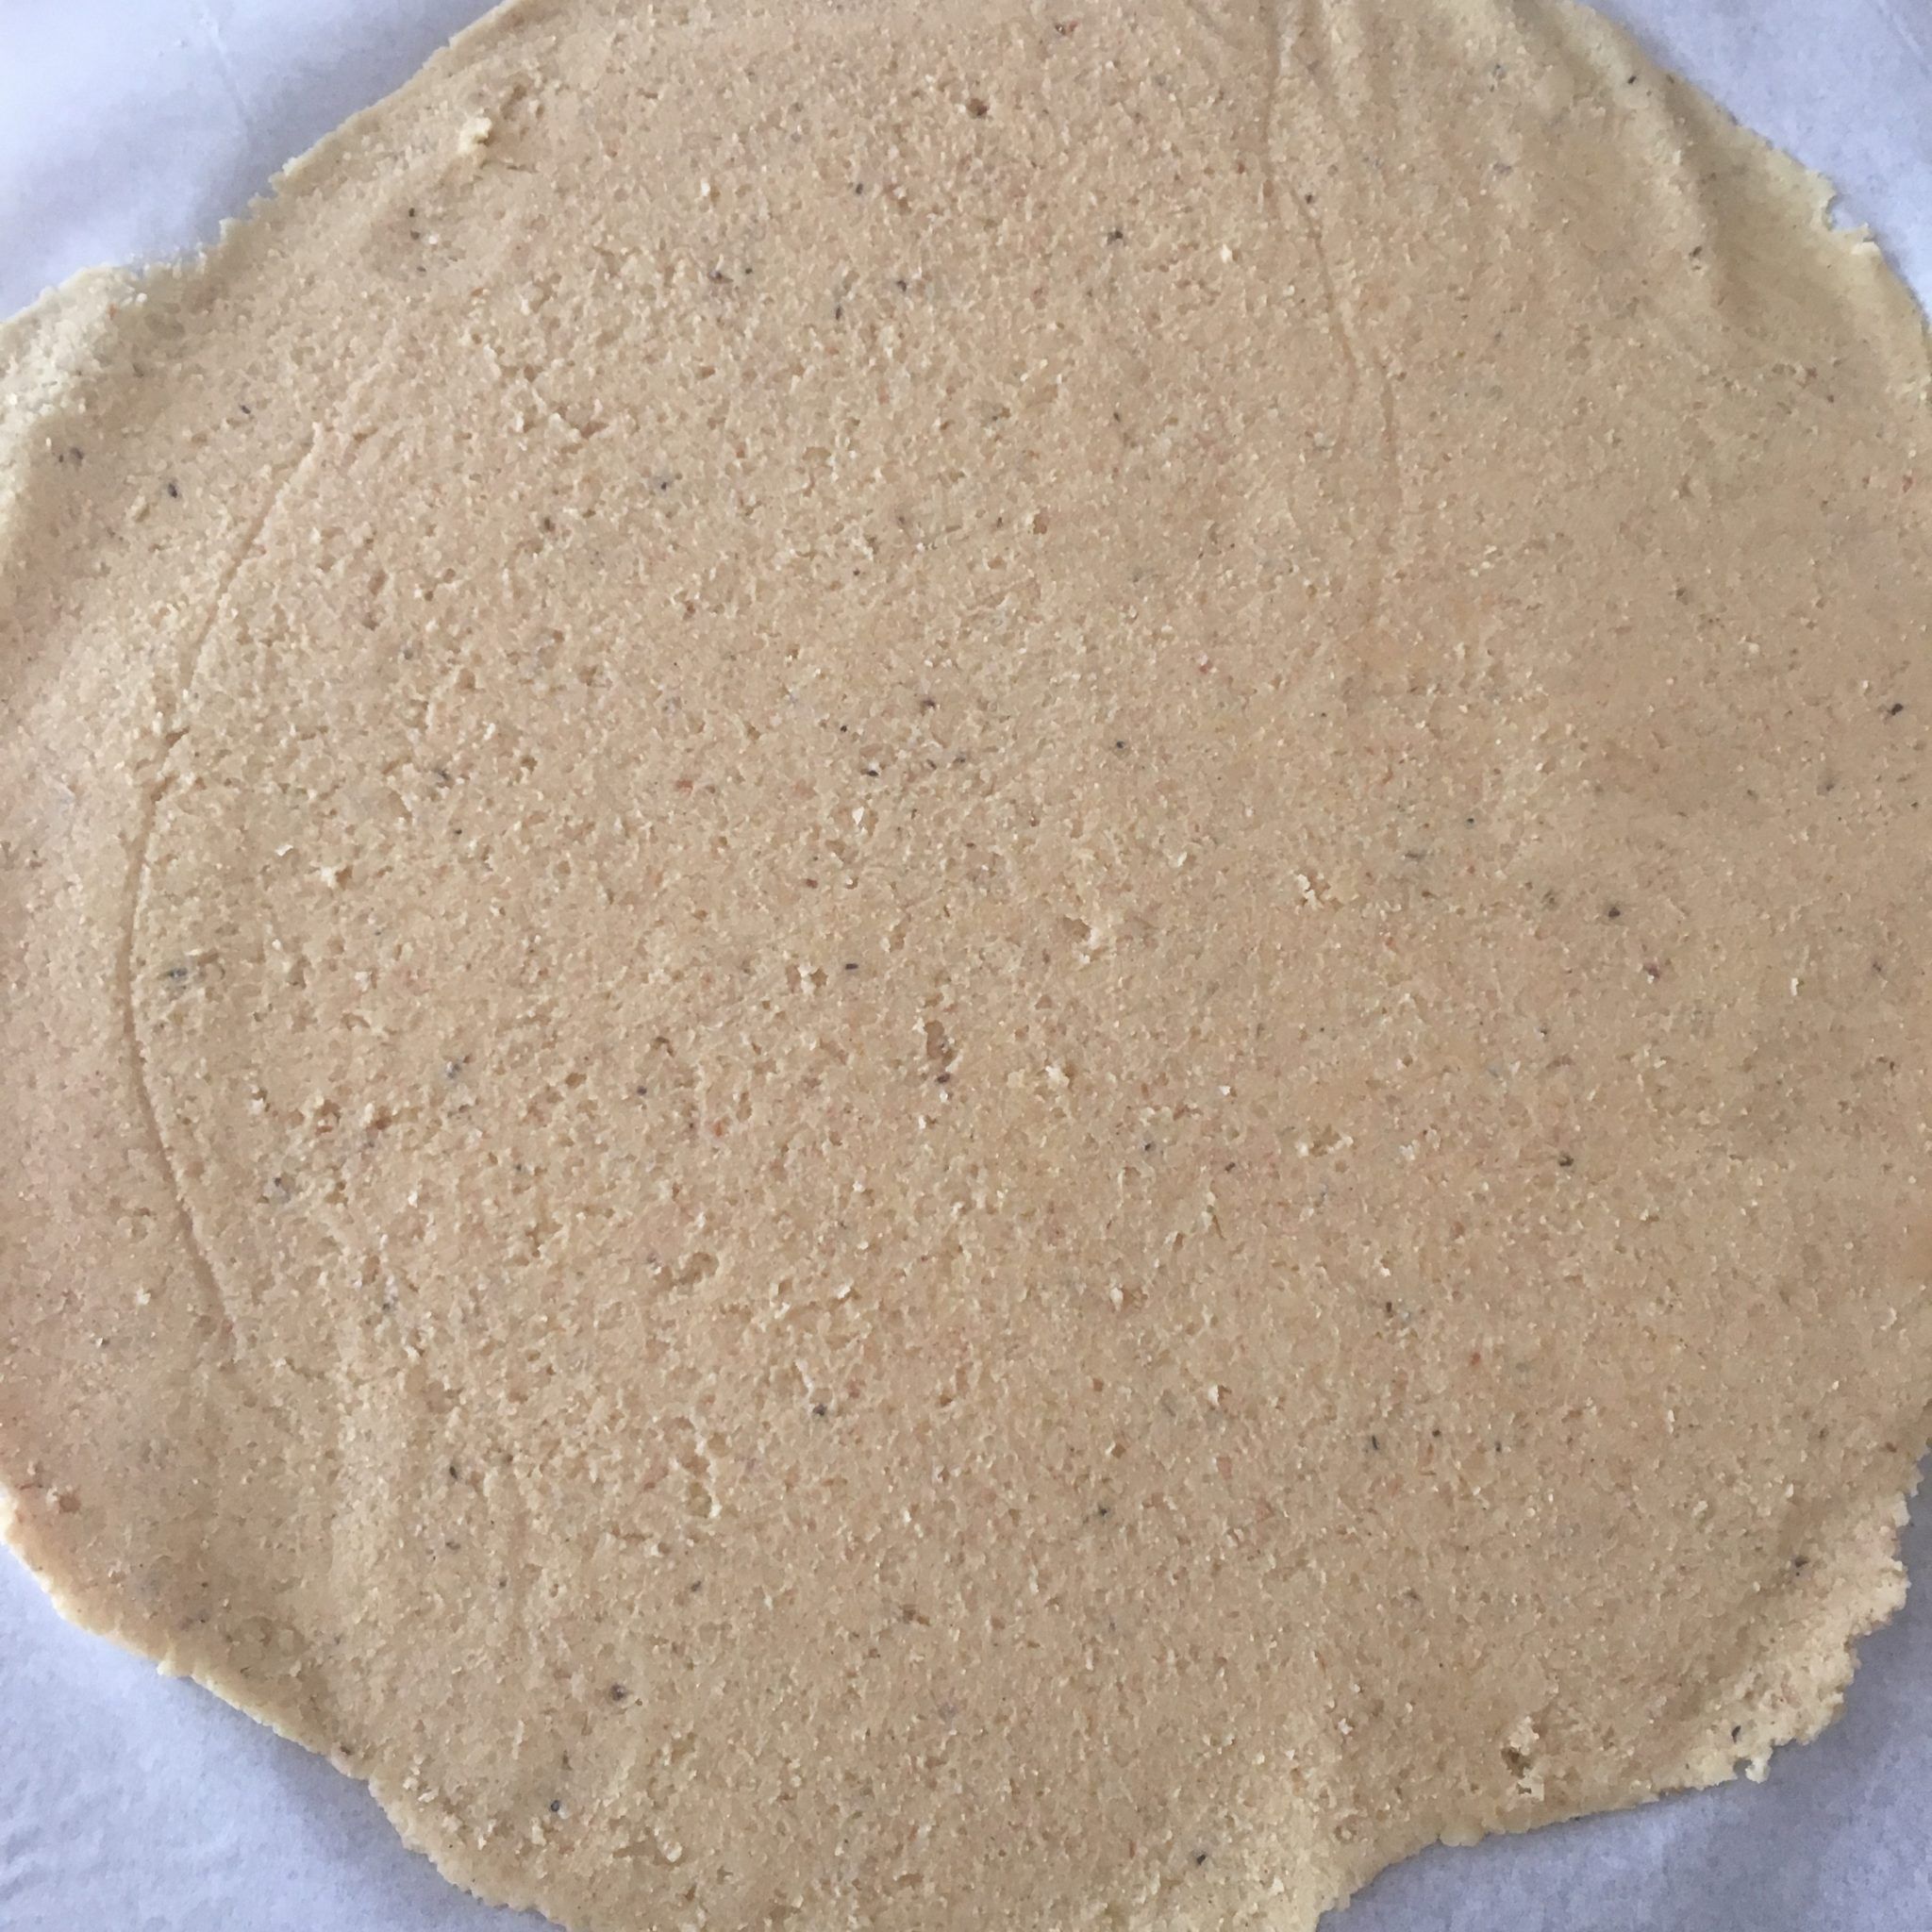
- Roll out the dough, placed in between the foil sheets. Make it kind of square and as wide as the baking dish.

- Take the upper foil off, and flip the rolled out dough onto prepared parchment paper. Now pull the other sheet of foil off.

- Spread half of the filling, covering ⅘ of the rolled out dough. Don’t press down too hard, for the dough might stick to the parchment paper.

- Lifting up the parchment paper, start making a roll (kind of like making maki sushi.

- When done, lift the nut roll together with the parchment paper, and place it into the baking pan. Be careful, as the roll may break quite easily.

- Repeat with the other half of the dough and the rest of the filling.

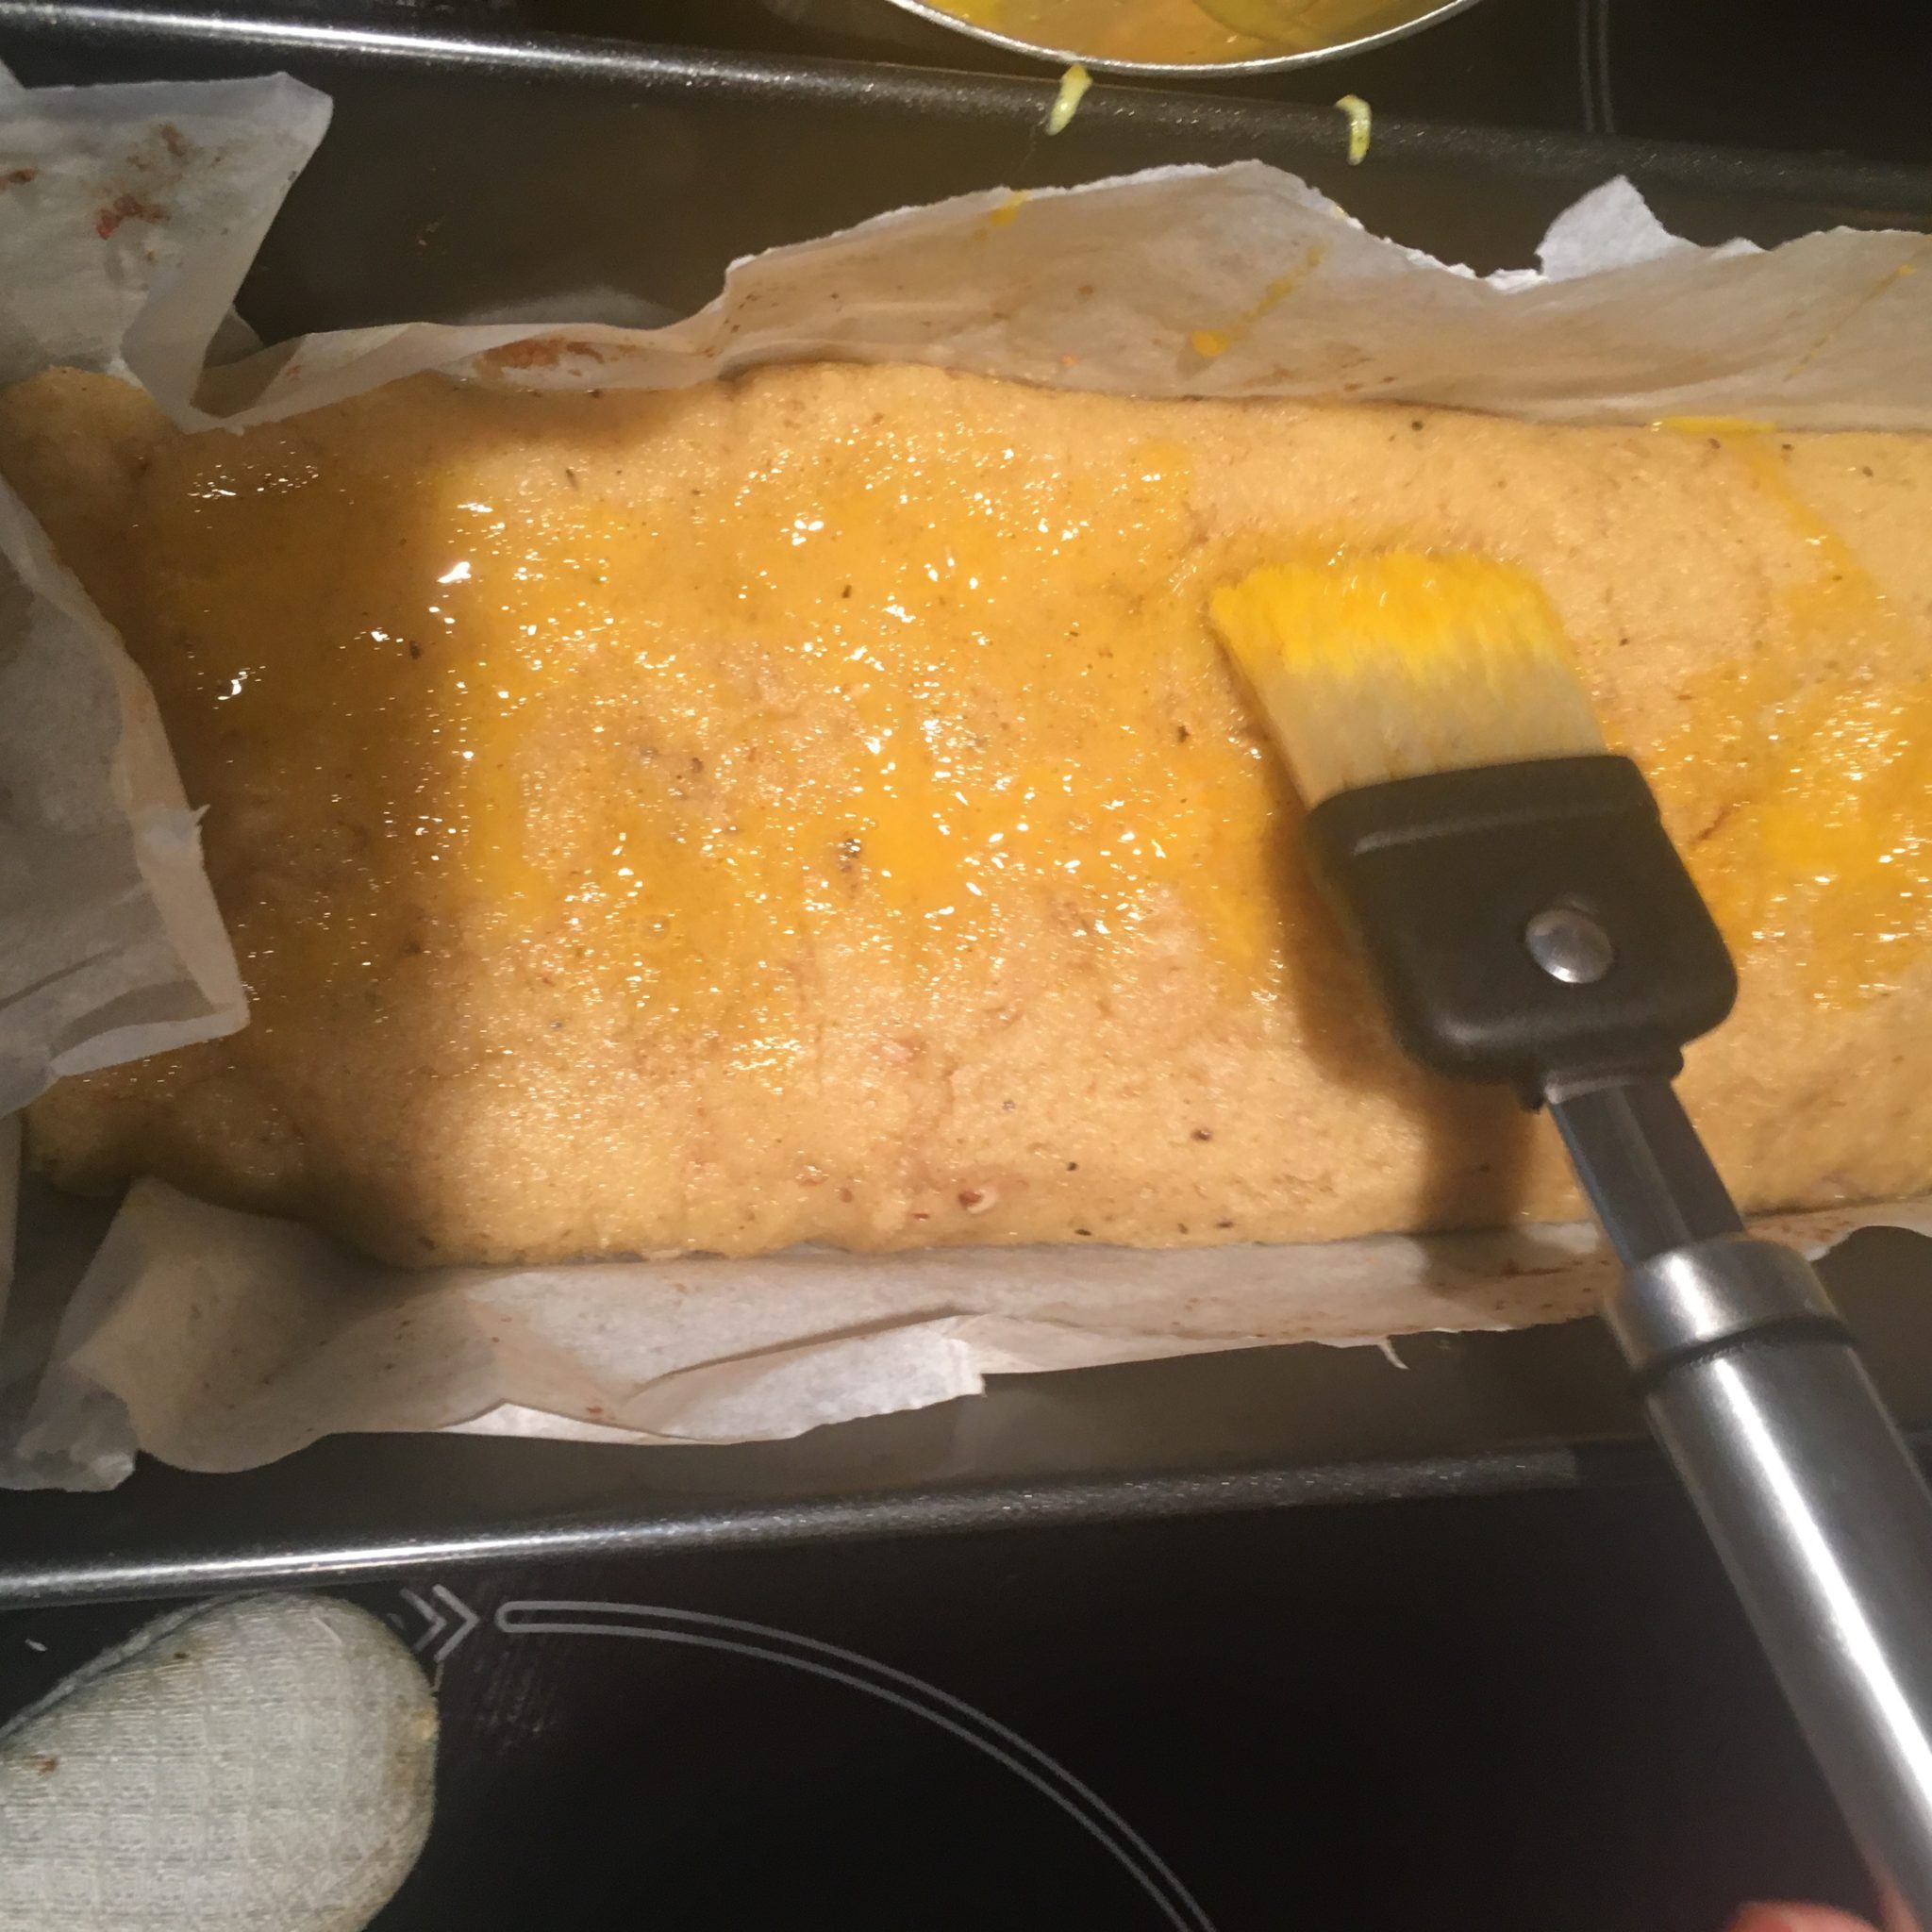
- Bake for 40 - 45 minutes altogether. After 20 minutes, take the rolls out and gently cover them with egg yolk. Return them to the oven.

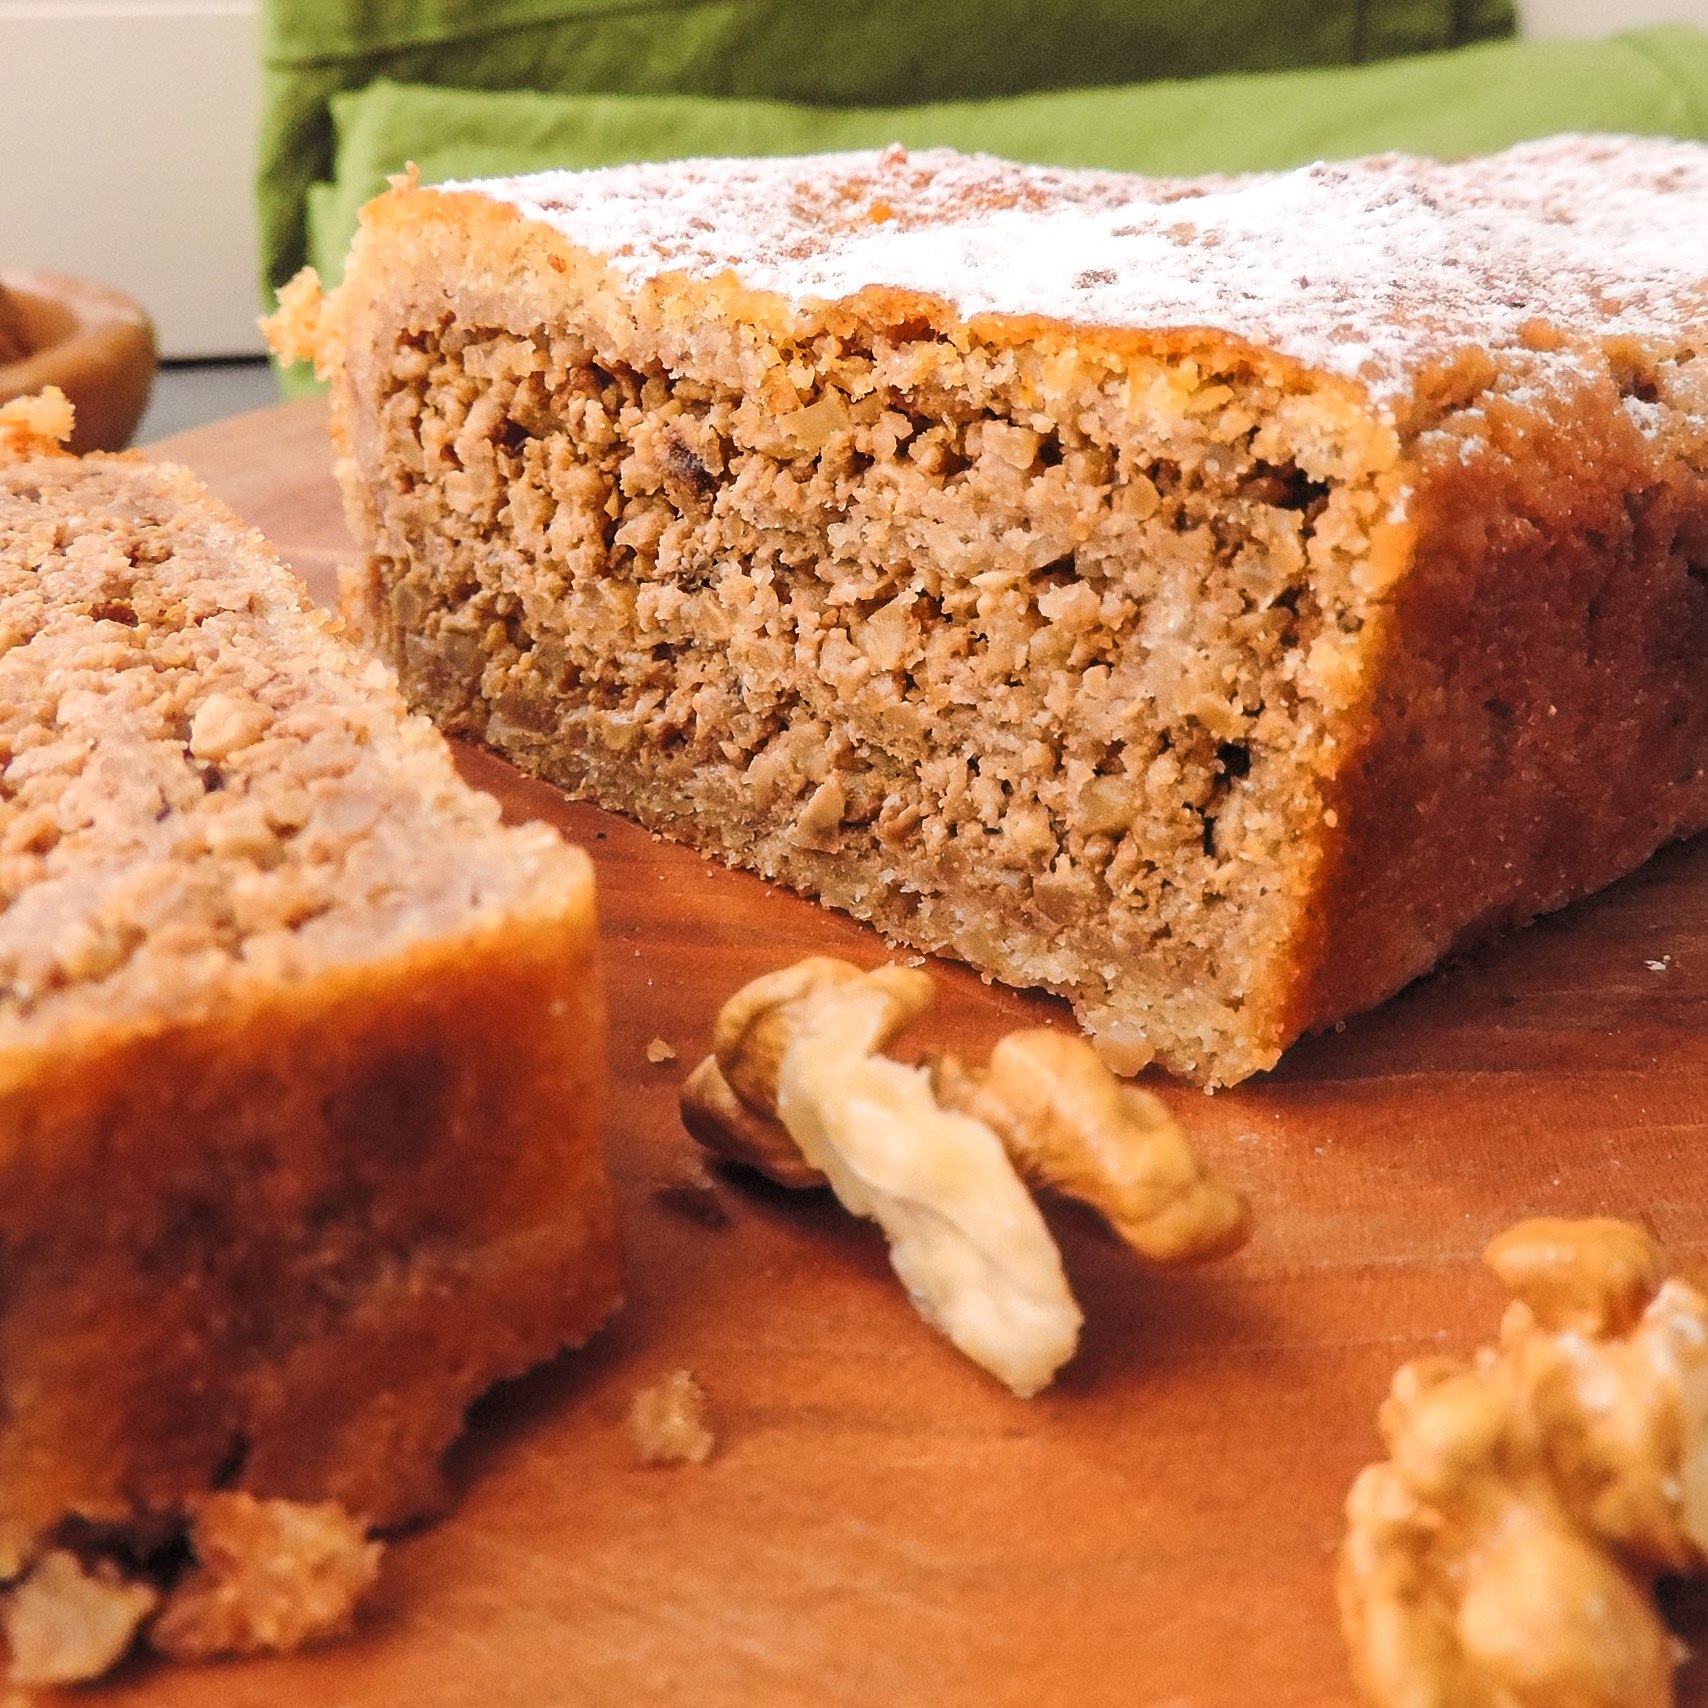
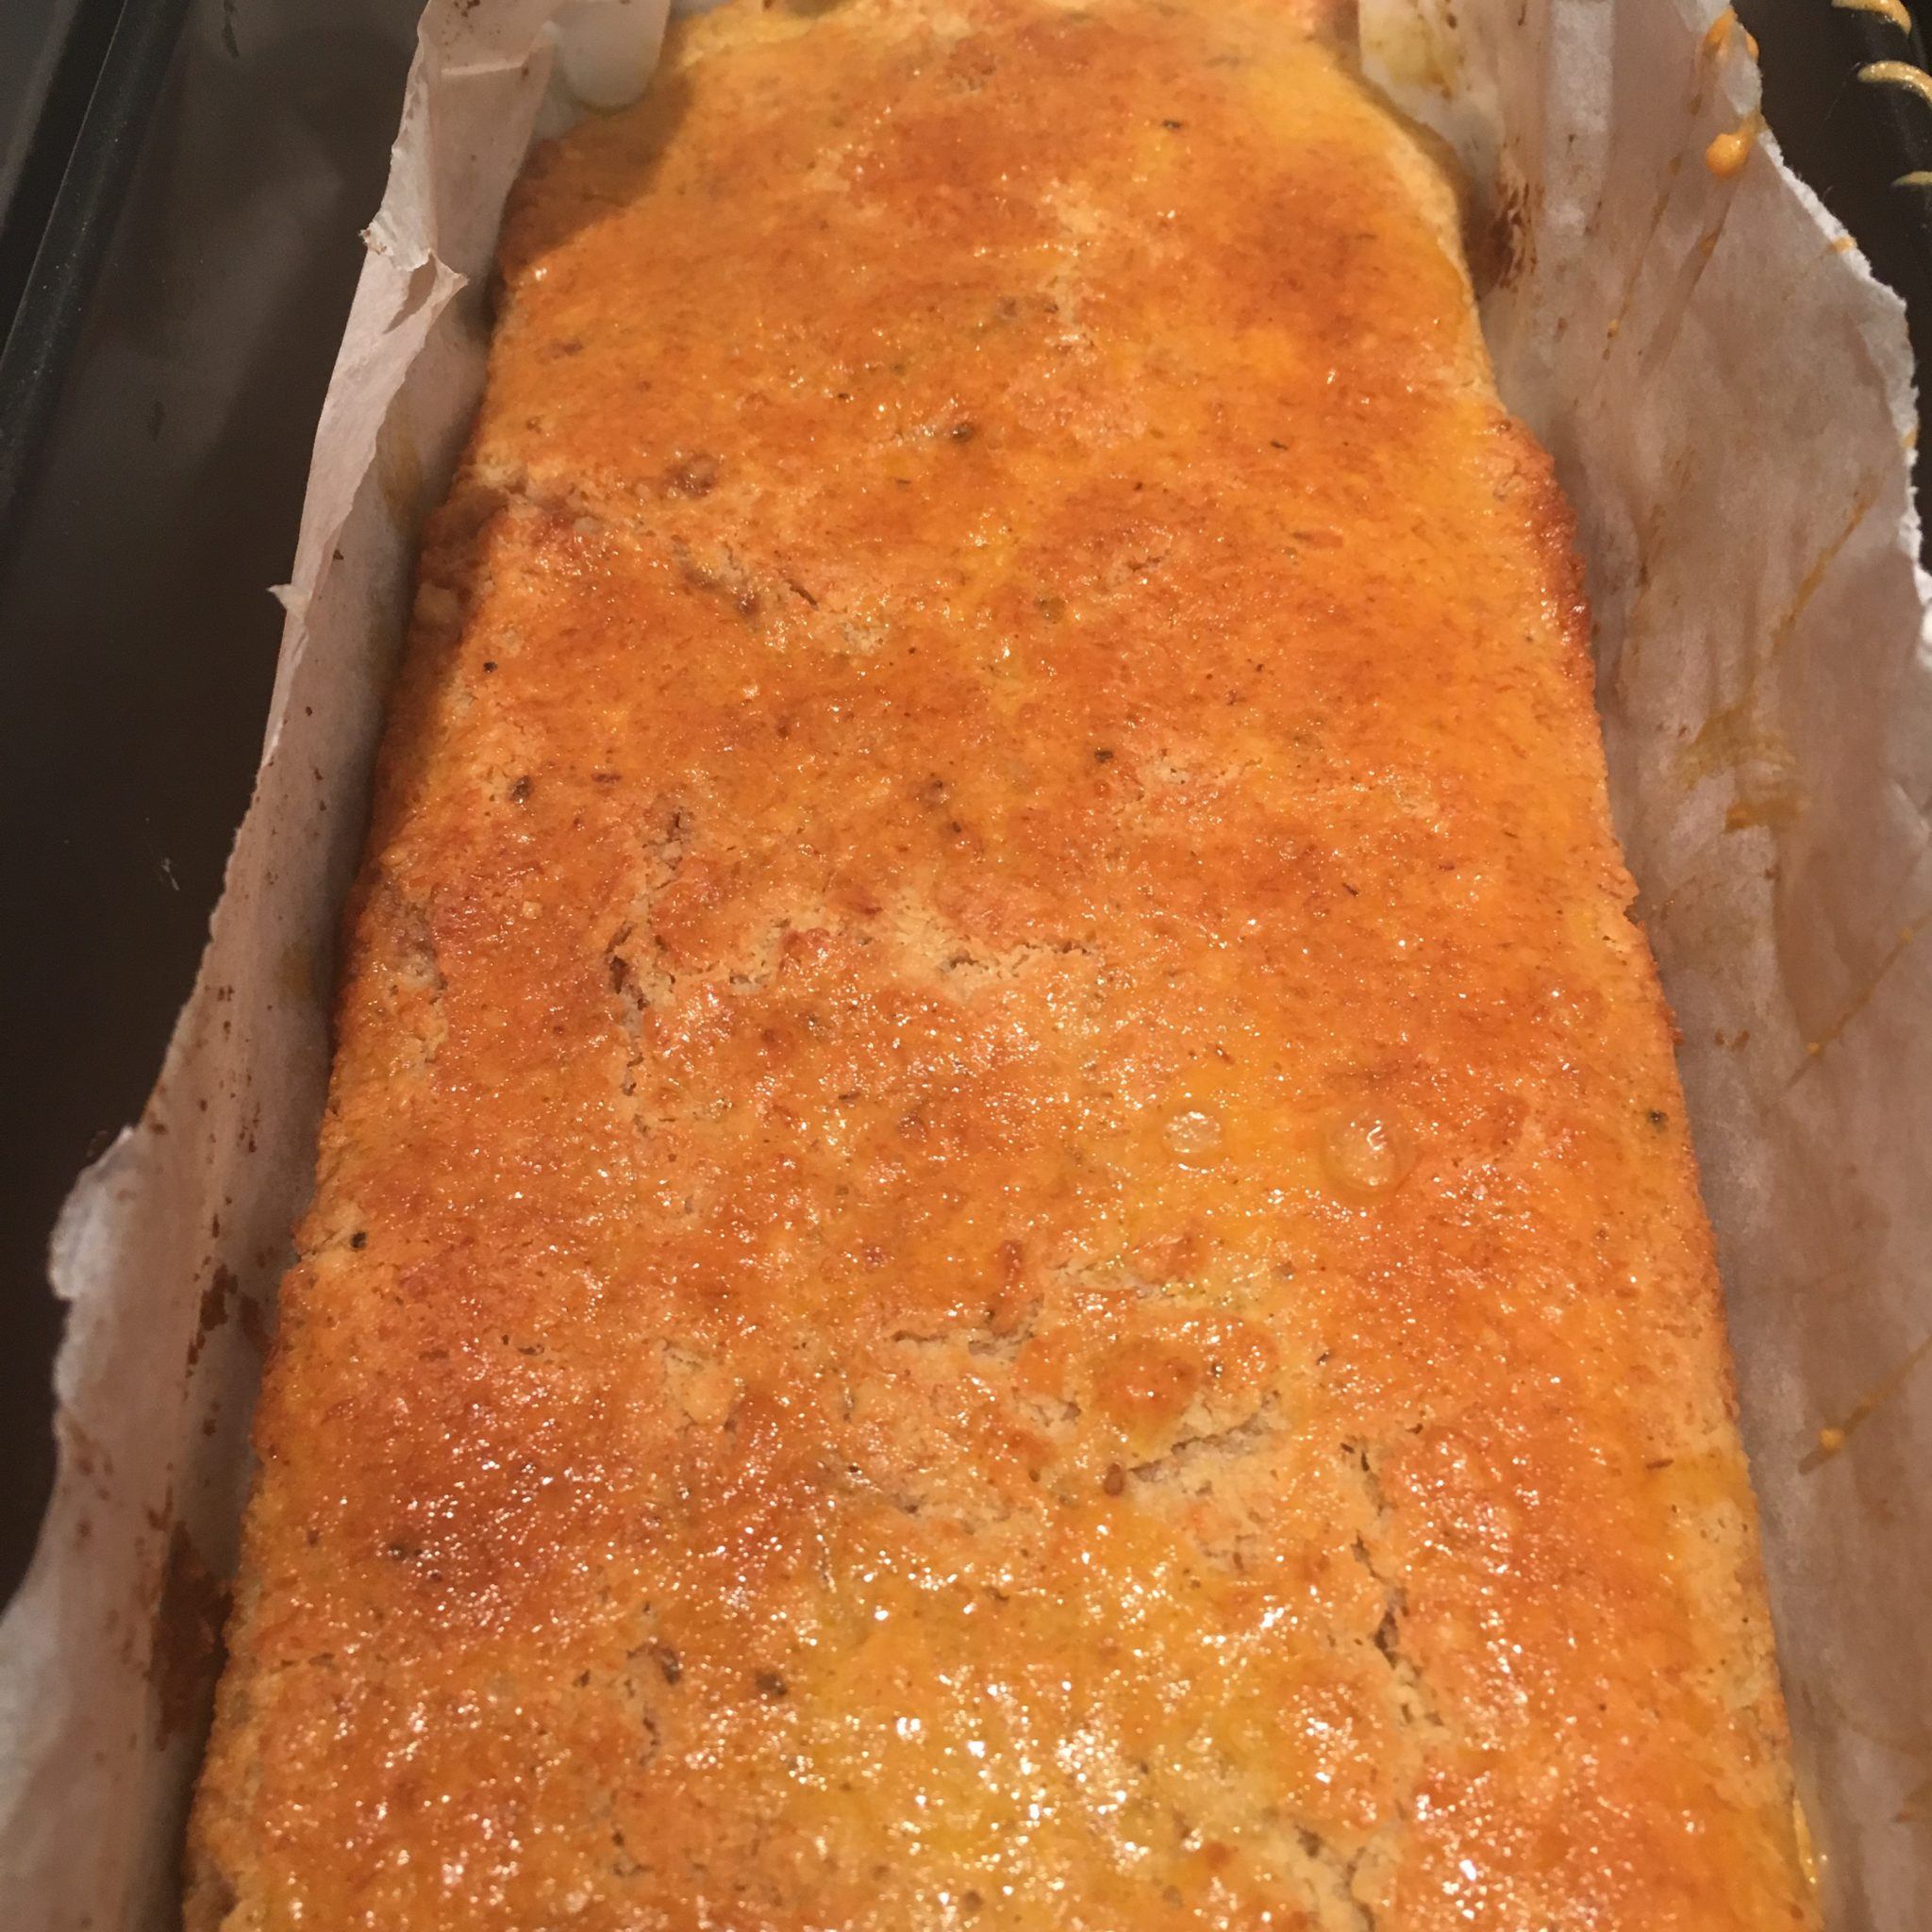
- When done baking, leave the rolls inside the oven to cool down. The texture and the taste will be best the next day, so prepare in advance. Enjoy!

- If you wish, use any other type of nuts instead of walnuts. You can see three different rolls in this picture, some with double amount of filling to suit the taste of a family member.


Nutrition
Calories: 155kcal | Carbohydrates: 4.9g | Protein: 6.2g | Fat: 12.6g | Saturated Fat: 2.8g | Polyunsaturated Fat: 6.4g | Monounsaturated Fat: 2.7g | Sodium: 39mg | Potassium: 86mg | Fiber: 2.9g | Sugar: 0.8g | Calcium: 35mg | Magnesium: 28mg | NET carbs: 2g
Did you make this? Tag us on instagram!We love seeing what you’ve made! Tag us on Instagram @mysweetketo or leave a comment & rating below.